How to:
Tips for Stunning Architecture and Interiors Photography
Architecture and interior photography is an art that combines technical skills with an eye for detail. This guide will help you understand how to capture the essence of various structures, from historical buildings to modern homes, making your portfolio stand out.
Understanding Architecture and Interiors Photography
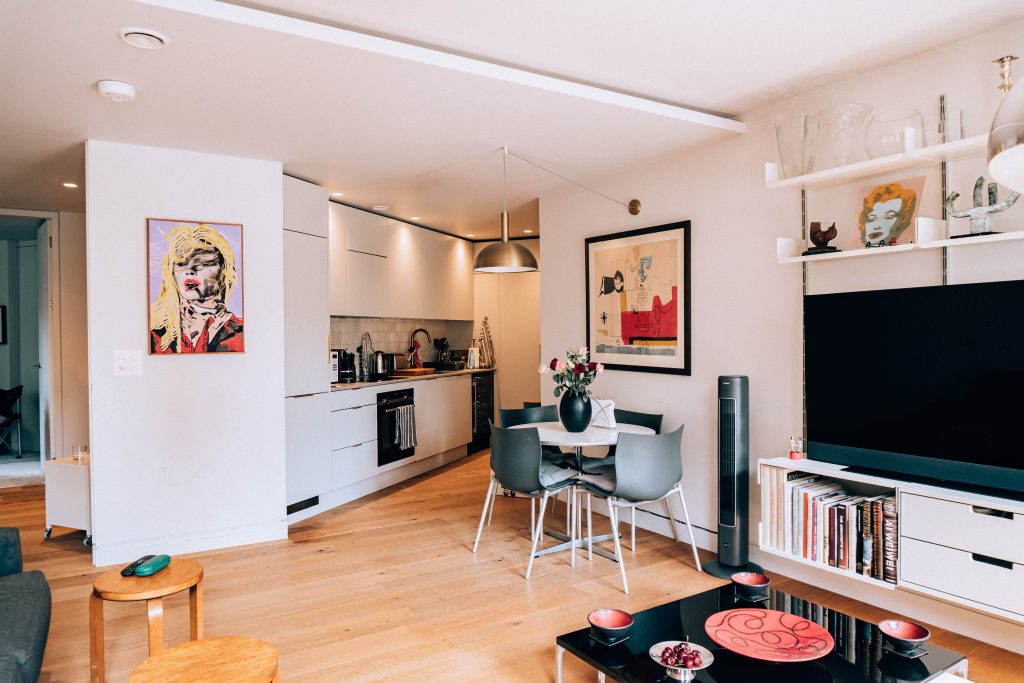
Architecture and interior photography involves capturing the aesthetic and functional aspects of buildings and interior spaces. This type of photography emphasises both the design elements and the atmosphere of the spaces, making it essential for showcasing real estate, architectural designs, and interior decorating projects.
Definition and Importance
Architecture photography is all about capturing the exteriors of buildings, making every line and detail look like a masterpiece. Interior photography, on the other hand, focuses on snapping indoor spaces, from cosy nooks to grand halls, and making even the simplest room look like it belongs in a magazine. Both are crucial for architects, interior designers, real estate agents, and anyone who wants to visually impress their clients and show off their amazing work.
– Learn More About Architecture Photography
– Importance of Interiors Photography

Unique Challenges with Lighting
One of the main challenges in architecture and interior photography is lighting. Natural light can be as fickle as a cat, changing throughout the day and turning your perfect shot into a shadowy mess. And let’s not even start on artificial lighting, which can either make a room look like a cosy haven or a scene from a horror movie.
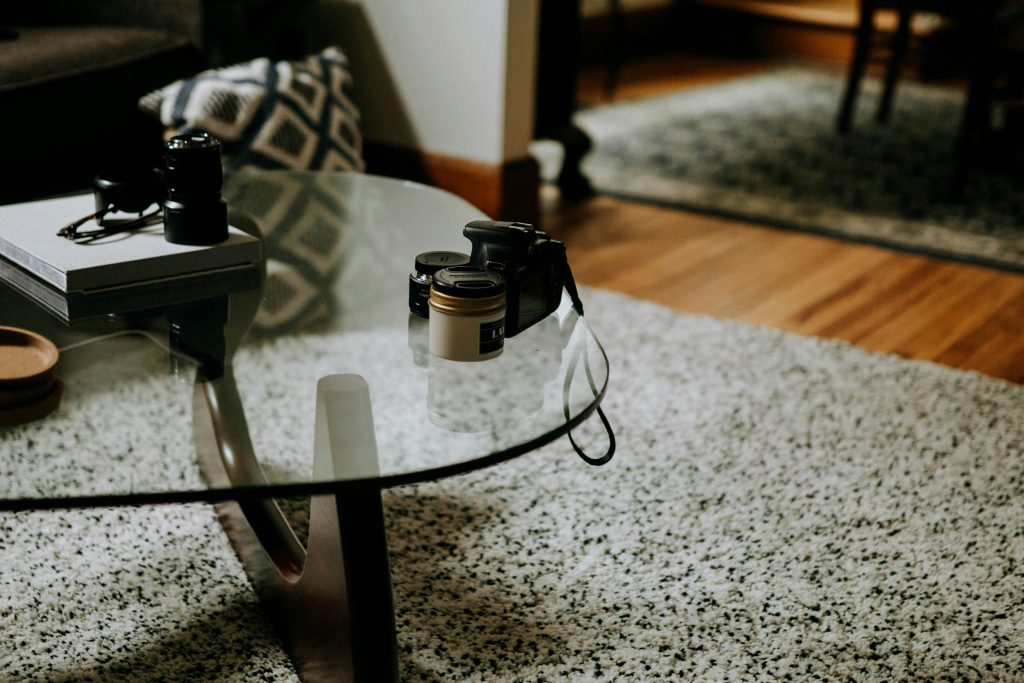
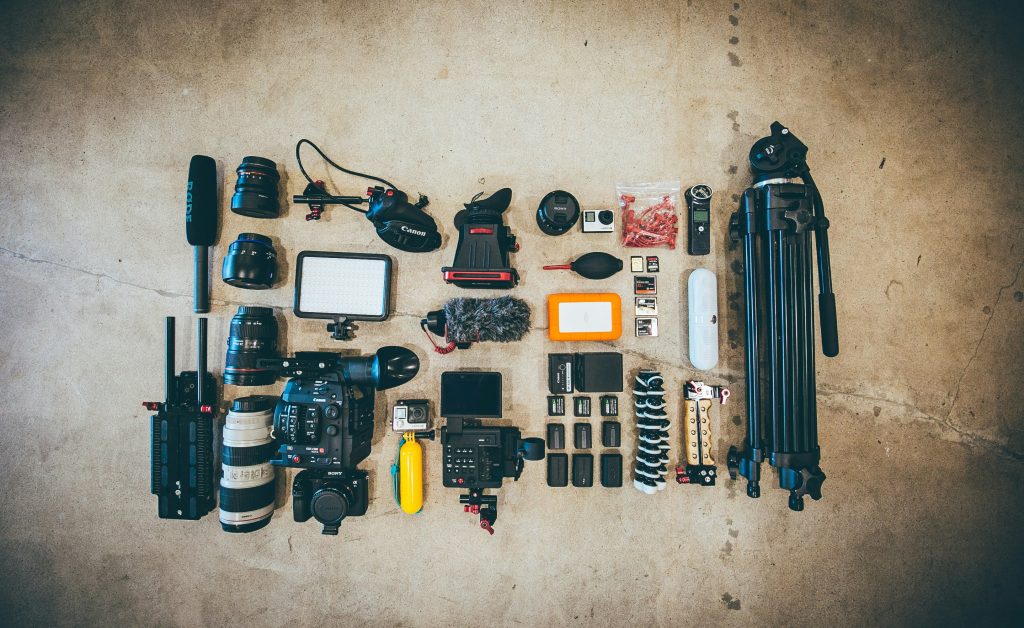
Equipment and Gear for Architecture and Interior Photography
When it comes to architecture and interior photography, having the right equipment can make you feel like a wizard. Here’s a quick rundown of what you need.
Recommended Cameras and Lenses
First off, you’ll need a camera that can handle high resolution. Think full-frame DSLRs or mirrorless cameras. They capture all the glorious details of every nook and cranny. Pair these with wide-angle lenses for those sweeping interior shots and tilt-shift lenses to correct those pesky perspective distortions.
Then there’s composition. Finding the right angles to capture a space without making it look like a funhouse mirror is tricky. This often requires using specialised equipment like tilt-shift lenses because apparently, regular lenses just aren’t complicated enough.
Despite these challenges, architecture and interior photography is full of opportunities. You get to work with a variety of subjects, from ancient castles to ultra-modern apartments, each with its own unique charm. This diversity not only keeps things interesting but also helps build a versatile and visually stunning portfolio.
– Tips for Managing Lighting in Interior photography
– How to Use Tilt-Shift Lenses in Architecture Photography
By mastering these aspects, photographers can create images that highlight the beauty of architectural and interior designs, making them invaluable marketing tools for their clients. Plus, there’s the added bonus of feeling like a magician when you turn a mundane room into a stunning photo.
For potential clients looking for top-notch photography services, understanding these nuances ensures you get the best results. Whether you need to showcase a new real estate listing, highlight the intricate details of an interior design project, or capture the grandeur of a historical building, the right photographer (like me!) can make all the difference. Let’s work together to make your projects shine.
Essential Accessories
Next, you can’t skip on accessories. A sturdy tripod is a must to keep your shots steady, especially in low light. And don’t forget about lighting equipment – softboxes, reflectors, and diffusers will help you tame both natural and artificial light, making even the dullest room look like a five-star hotel suite. If I am being completely honest I don’t use them a lot because I am going with the traditional way of saying ‘Natural light is your best friend: when available, natural light is a photographer’s best asset. It’s soft, flattering, and brings out the true colours of a space.
The tripod I use and I am so happy with since I started with my photography journey is from Neewer but you can look for other ones that after my research are equally as good:
– Lighting Gear for Interiors Photography
Having the right gear ensures you’re ready for any challenge, from capturing the grandeur of a cathedral to the cosy charm of a tiny home. Trust me, your photos – and your clients – will thank you.
Techniques for Stunning Shots
Post-Processing Tips for Architecture and Interiors Photography
Once you’ve snapped your shots, it’s time to turn them into masterpieces. This is where post-processing comes in. Think of it as the digital equivalent of sprinkling magic dust on your photos.
Software Recommendations
First, let’s talk about software. Adobe Lightroom and Photoshop are the dynamic duo of photo editing. Lightroom is perfect for organising your photos and making quick adjustments. Photoshop, on the other hand, is your go-to for more complex edits, like removing that annoying trash can from your perfect exterior shot.
– Why Adobe Lightroom is a Must-Have
– Mastering Photoshop for Architecture Photography
Editing Techniques
Now, onto the fun part: editing techniques. Start with colour correction to ensure the colours are true to life – because no one wants to see a neon pink brick wall (unless that’s your thing). Next, try HDR processing to balance the light in high-contrast scenes. This technique combines multiple exposures to ensure both the shadows and highlights are perfectly exposed. It’s like having your cake and eating it too!
Finally, don’t forget to sharpen your images to make the details pop, and straighten any crooked lines – unless you’re going for the Picasso look. Remember, the goal is to enhance the beauty of the architecture and interiors, not turn them into abstract art (again…unless you’re into that).
Showcasing Your Work
Congratulations! You’ve captured some amazing shots. Now, let’s show them off to the world. Here’s how to build an online portfolio that screams “Look at me!”
Building an Online Portfolio
First, create a stunning online portfolio. Think of it as your digital art gallery. Platforms like Squarespace, Wix or WordPress (that’s the one I used) make it easy to build a site without needing a computer science degree. Make sure your portfolio is visually appealing, easy to navigate, and showcases your best work.
– Creating an Effective Online Photography Portfolio
SEO Tips for Your Photography Website
Next up, SEO. Because what good is a beautiful portfolio if no one sees it? Use relevant keywords like “architecture photography” and “interiors photography” throughout your site (Did you see what I did there?). Write engaging descriptions for your photos and blog posts. Don’t forget to use alt text for your images – it’s like whispering sweet nothings to search engines.

Finally, keep your site updated. Add new work regularly and maybe even a blog to share your photography adventures. This keeps visitors coming back and tells search engines that your site is alive and kicking.
By building a killer online portfolio and mastering SEO, you’ll ensure that your work gets the attention it deserves. So go ahead, flaunt your photography skills and watch the clients roll in.
Emphasise the importance of practice and continuous learning in mastering architecture and interiors photography. Encourage readers to explore and experiment with different techniques.